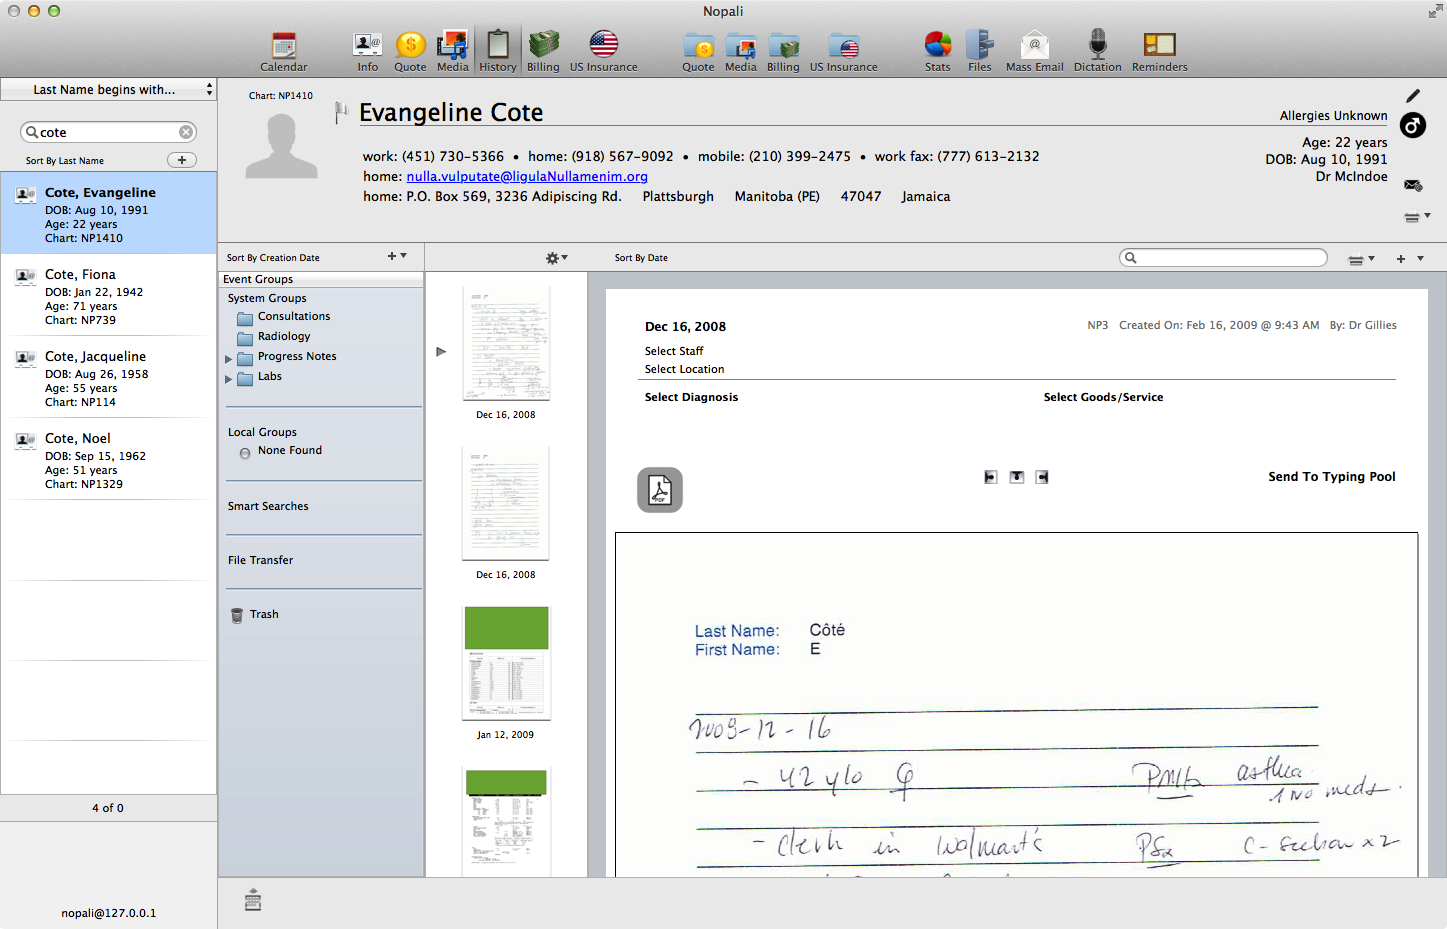
You can create and manage progress notes for patients using Nopali. Press the Patient History toolbar item to see this view:

The Patient History view is populated with a Grouping Table, a Thumbnail View and a Main View:

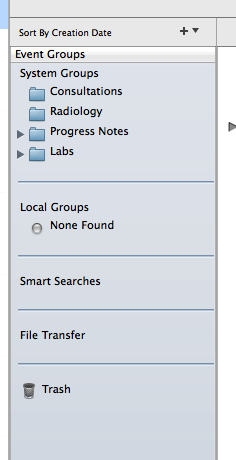
The Grouping Table allows you to create groups into which you can drag and drop thumbnails. Groupings like Labs, Radiology, Pathology, OR Reports can be useful:

Groupings can either be 'Local' (only to a specific chart) or 'System' (applies to all charts).
The thumbnail view is used to quickly scroll through the pages in the chart. You can also drag-and-drop thumbnails to your desktop. You can drag and drop PDF files into the thumbnail view to create new entries:

The main view shows the complete entry. Entries can be PDF Pages, Audio Dictations and Typed Notes. An icon indicating the note type is on the left of the entry. Depending on the type of note, different buttons are available for modifying the entry:

You can create a progress note by pressing the '+' button.

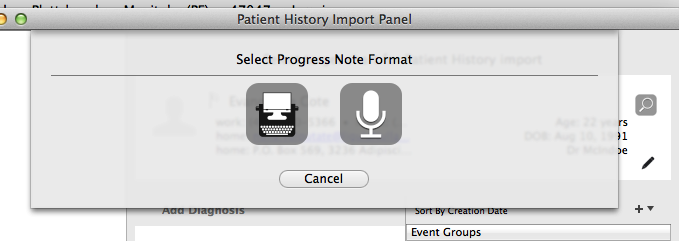
The History Entry Panel will come down:

A History Entry using this panel can be an audio dictation or a typed note. You can select either type by pressing one of the buttons. You can then follow the steps to create an entry. History entries can be associated with Diagnoses and Procedures, and you will be presented with options to add these values.
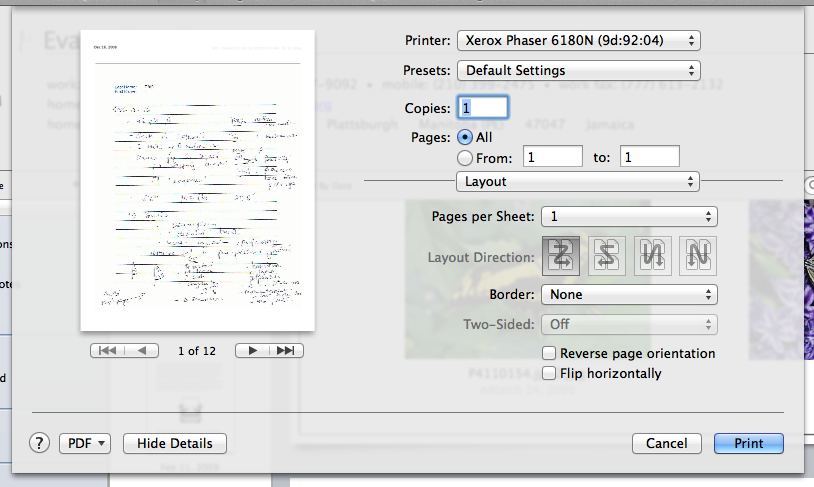
You can also enter PDF files into the Patient History module. To do this, you can drag and drop a PDF file into the Thumbnail View. You can also directly import a PDF through the Print Panel on your computer by pressing the 'PDF Services' button on the lower left and selecting the 'Import Into Nopali Chart' option. Note that you must have Nopali running to see this option:

