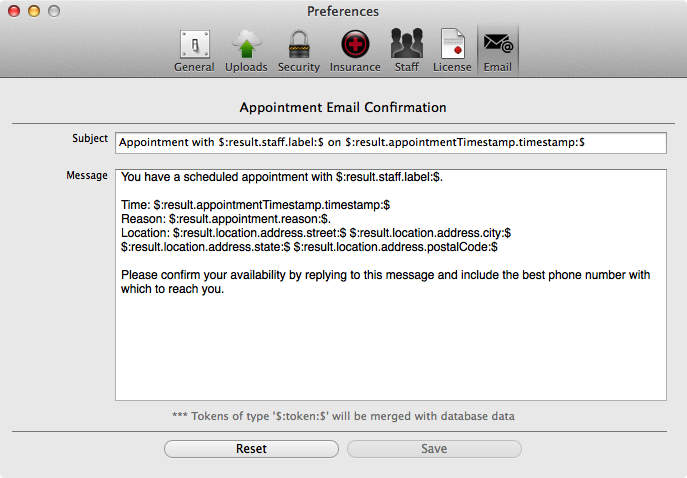
The Nopali Preferences Panel is found by selecting the 'Nopali>Preferences' menu item at the top left of the screen. With the panel open, you can select any of the toolbar items along the top of the panel.
General defaults can be set using the Preferences Panel:
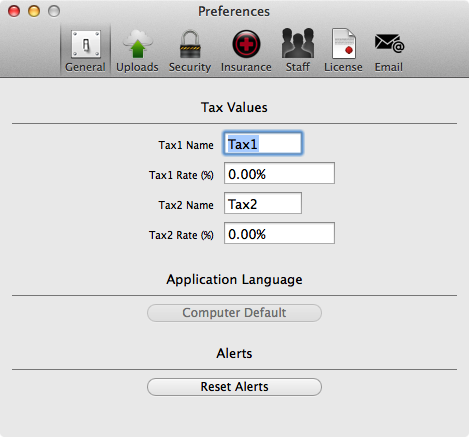
Defaults for tax names and rates can be set here. The name should be an abbreviated version like 'GST' or 'FST' to print better. Application language settings can be set here to indicate in which language you would like the application to run. The application also has panels that can be suppressed. To remove the suppression, you can press the 'Reset Alerts' button.
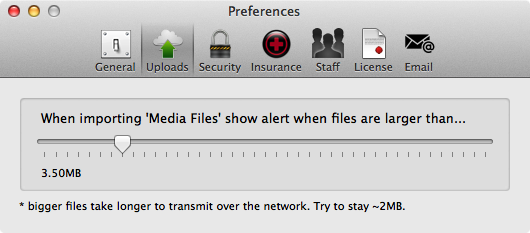
This view can be used to set a tolerance limit for file size that can be uploaded to the database. Uploading files larger than the limit will prompt the user for a confirmation before uploading.
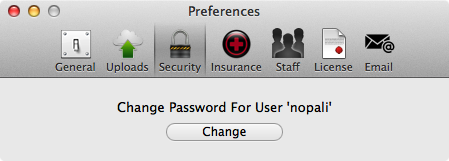
Passwords can be reset using this tab. If you forget your password, you can always use the Nopali Administrator to reset it.
Enabling insurance modules are done using this view:
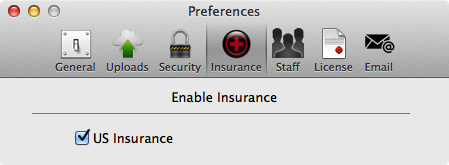
As Nopali adds insurance modules to the application, each one can be enabled here.
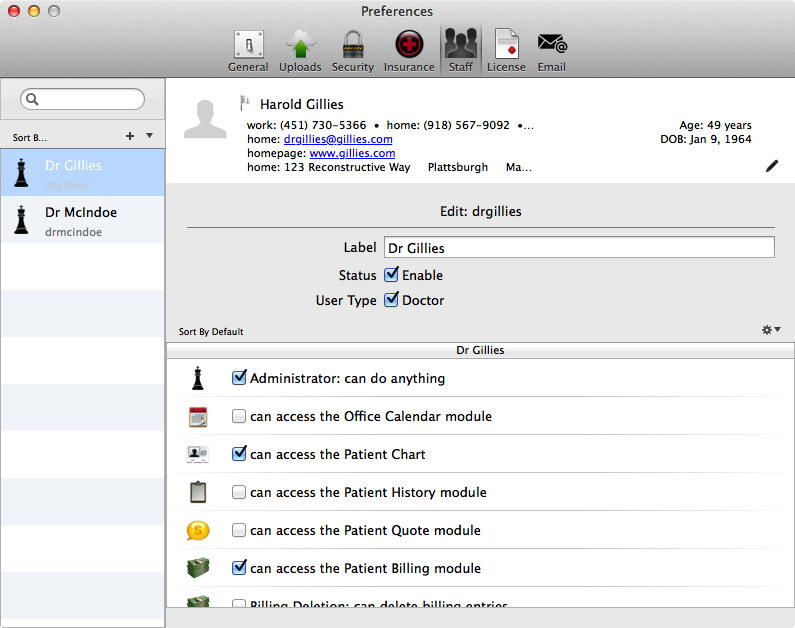
Database user management is done through this view. Users that have Administrator status are able to create users and make changes. Users with lesser privileges have more limited capabilities:
Database license information is managed here:
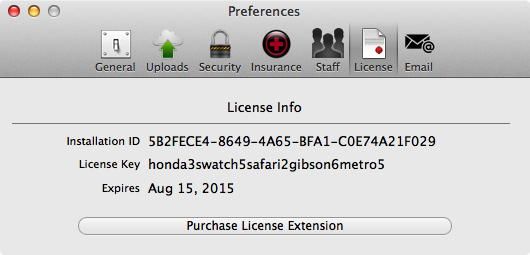
You cannot set the license: this is done automatically online. You can, however, use this view to pay for license extensions directly through the application.
Nopali now has an easy way to send appointment confirmations using email. The default text for the email is set here. You can edit this text to add a combination of languages. If you do change the text, make you keep the same token values that are in '$:token:$' format since these are the tokens that the application will swap data with. You can always revert to the default value by pressing the 'Reset' button:
