To properly configure the scheduler, ensure that office Locations have been entered. You can find instructions on setting up locations here. Once locations are set, open the scheduler by selecting the Calendar toolbar item and choosing Calendar > Calendar Settings from the menu.
The Templates tab allows you to define preset appointment types. While not required, this feature is useful for recurring appointment types. For example, you can create templates for Follow-up or Initial Consultation appointments with predefined durations and colors.
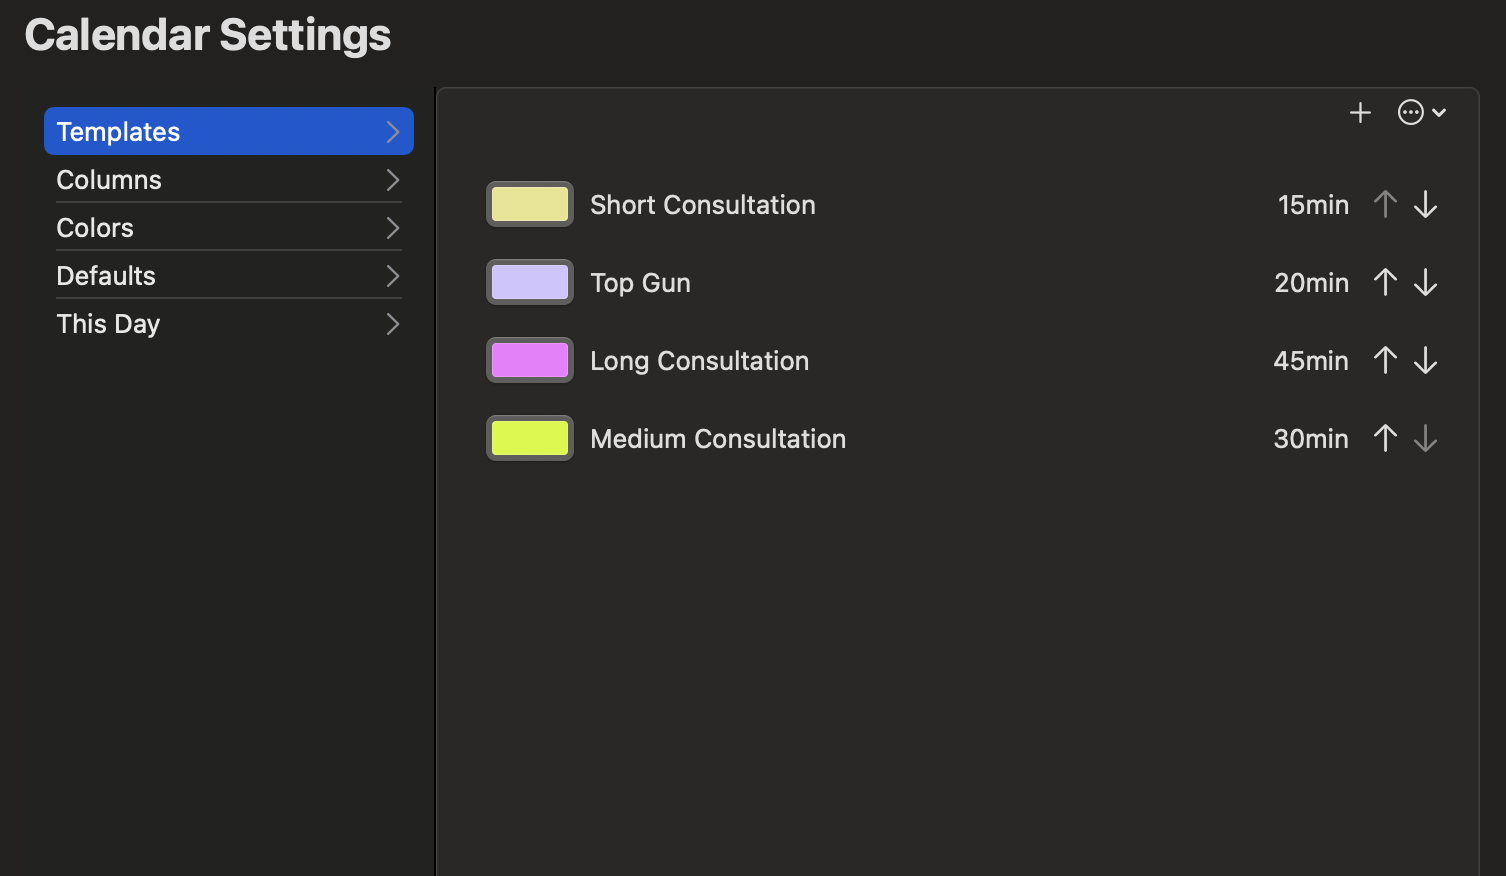
To create an appointment template, press the '+' button at the top right. To edit an existing template, select a row and press the action button next to the '+' button.
Use the arrow buttons at the end of each row to reorder how templates appear in the selection list.
The scheduler organizes office resources into columns. Each column represents a distinct resource, such as exam rooms or operating rooms, to prevent double-booking.
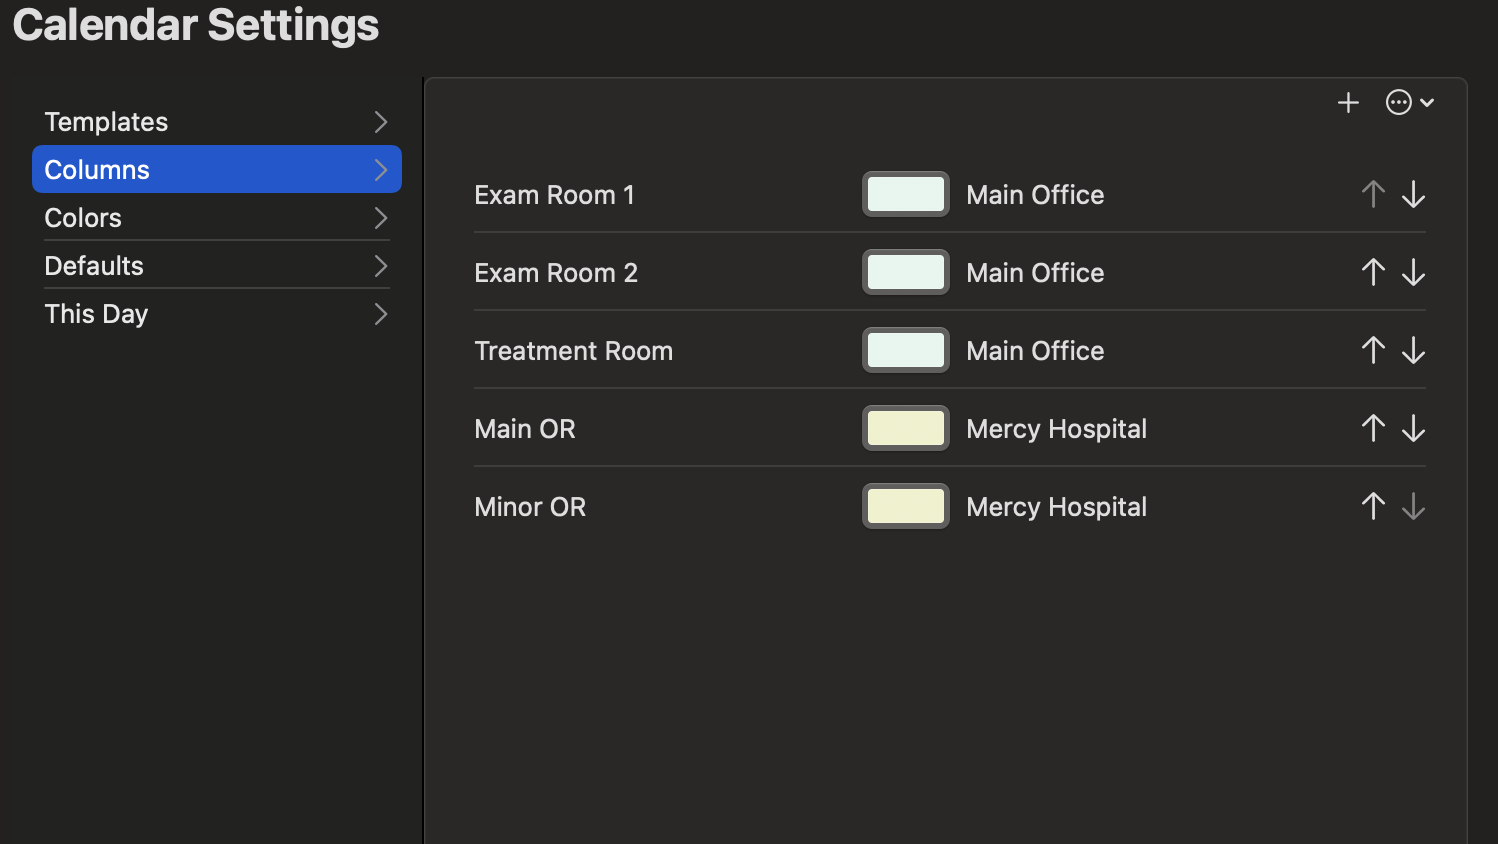
To add a new column, press the '+' button and enter a name (e.g., Exam Room 1, OR, etc.) along with the associated location.
Columns can be reordered using the arrow buttons at the far right of each row. You can apply a custom order by selecting the Custom Order checkbox.
You can assign colors to different scheduler elements for better visual organization. For example, you may assign a unique color to each staff member so their appointments are easily distinguishable.
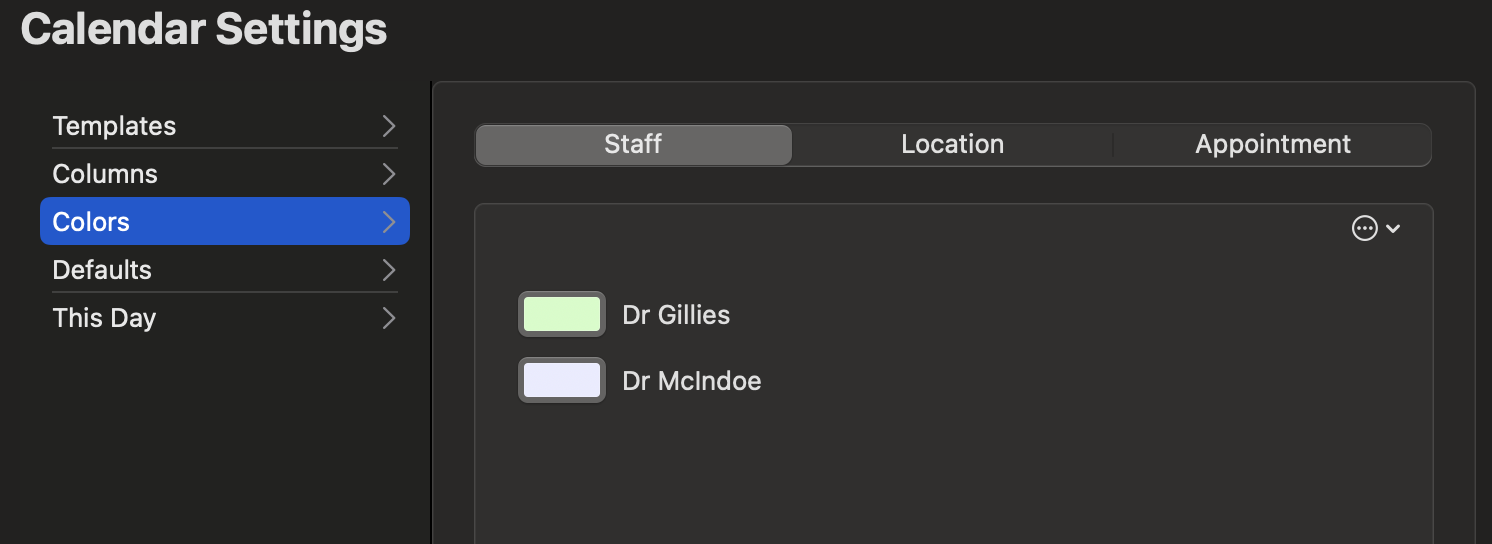
To change a color, select a row from the Staff, Locations, or Appointment Templates table, then click the color selector box. It is recommended to use soft pastel colors for staff and neutral shades for locations to improve readability.
The Defaults tab allows you to set standard scheduling values for newly opened appointment days. These values define which columns are open and the start/end times for each day of the week.
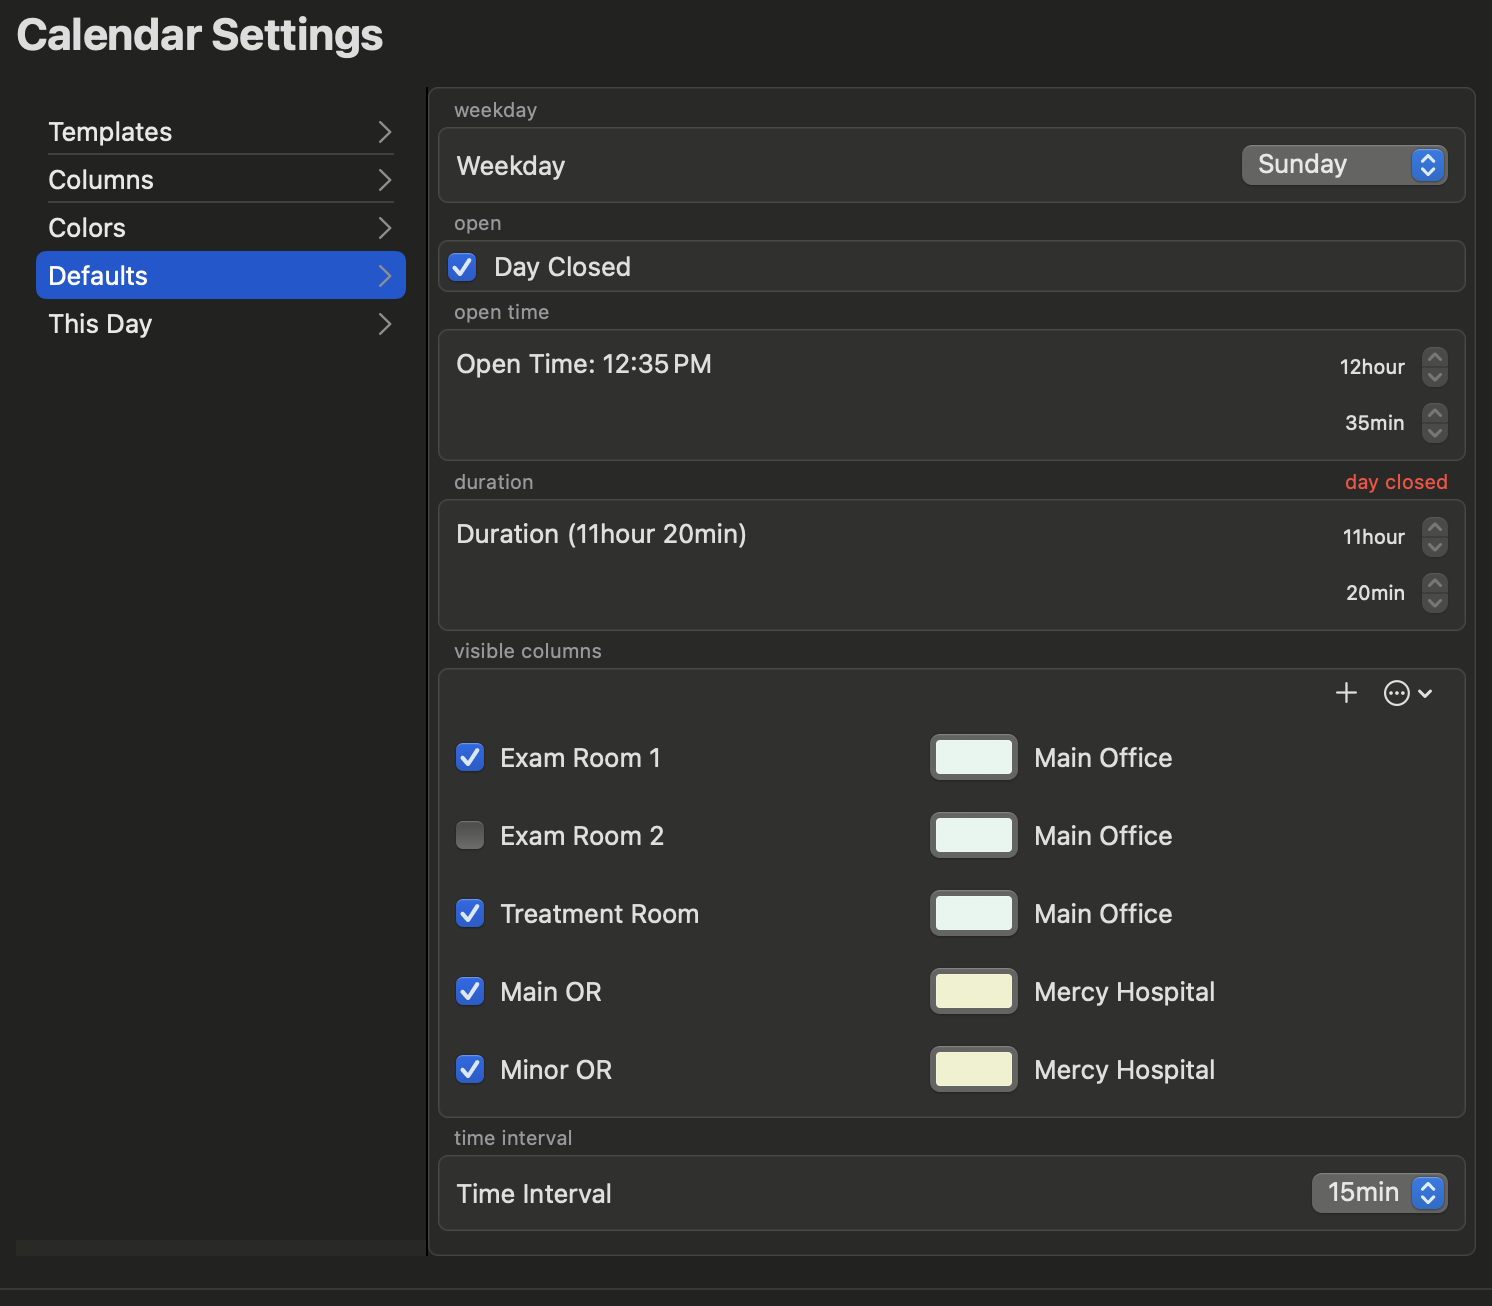
You can also adjust the Time Interval setting to define the time slot duration for the calendar view.
The This Day tab is used to override the default schedule for specific days. For example, if Mondays typically start at 10 AM, but a specific Monday needs to start at 11 AM, you can make that adjustment here.
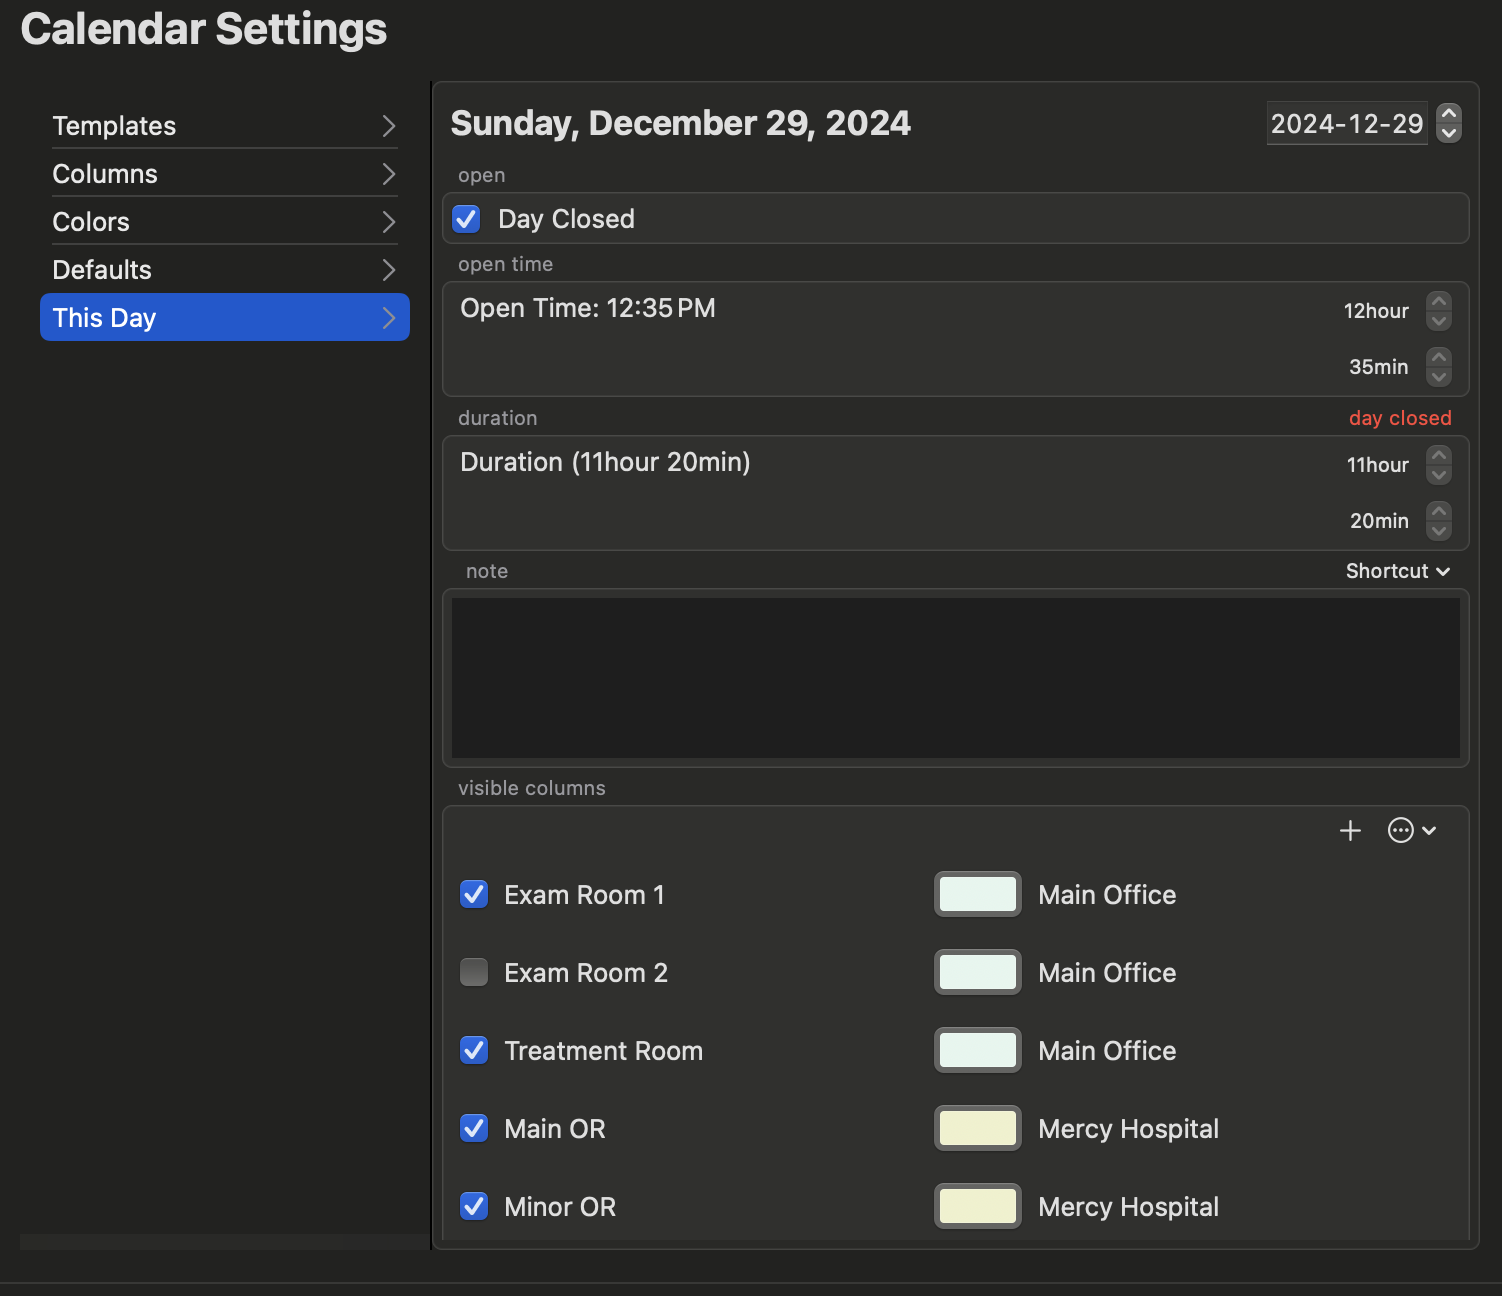
Additionally, you can add notes for specific days (e.g., "Dr. X On Call" or "Dr. Y On Holiday"), which will appear in the main scheduler window.