 Nopali Help
Using the Patient Media View
The Patient Media View allows you to manage media files such as images, PDFs, and other documents.
You can also use image files to create page layouts for printing.
Click the Patient Media toolbar item to access this view:
Patient Media Toolbar Item
Viewing Media Files
The Patient Media view consists of:
- A grouping sidebar on the left
- A canvas displaying media thumbnails
- Action buttons at the top
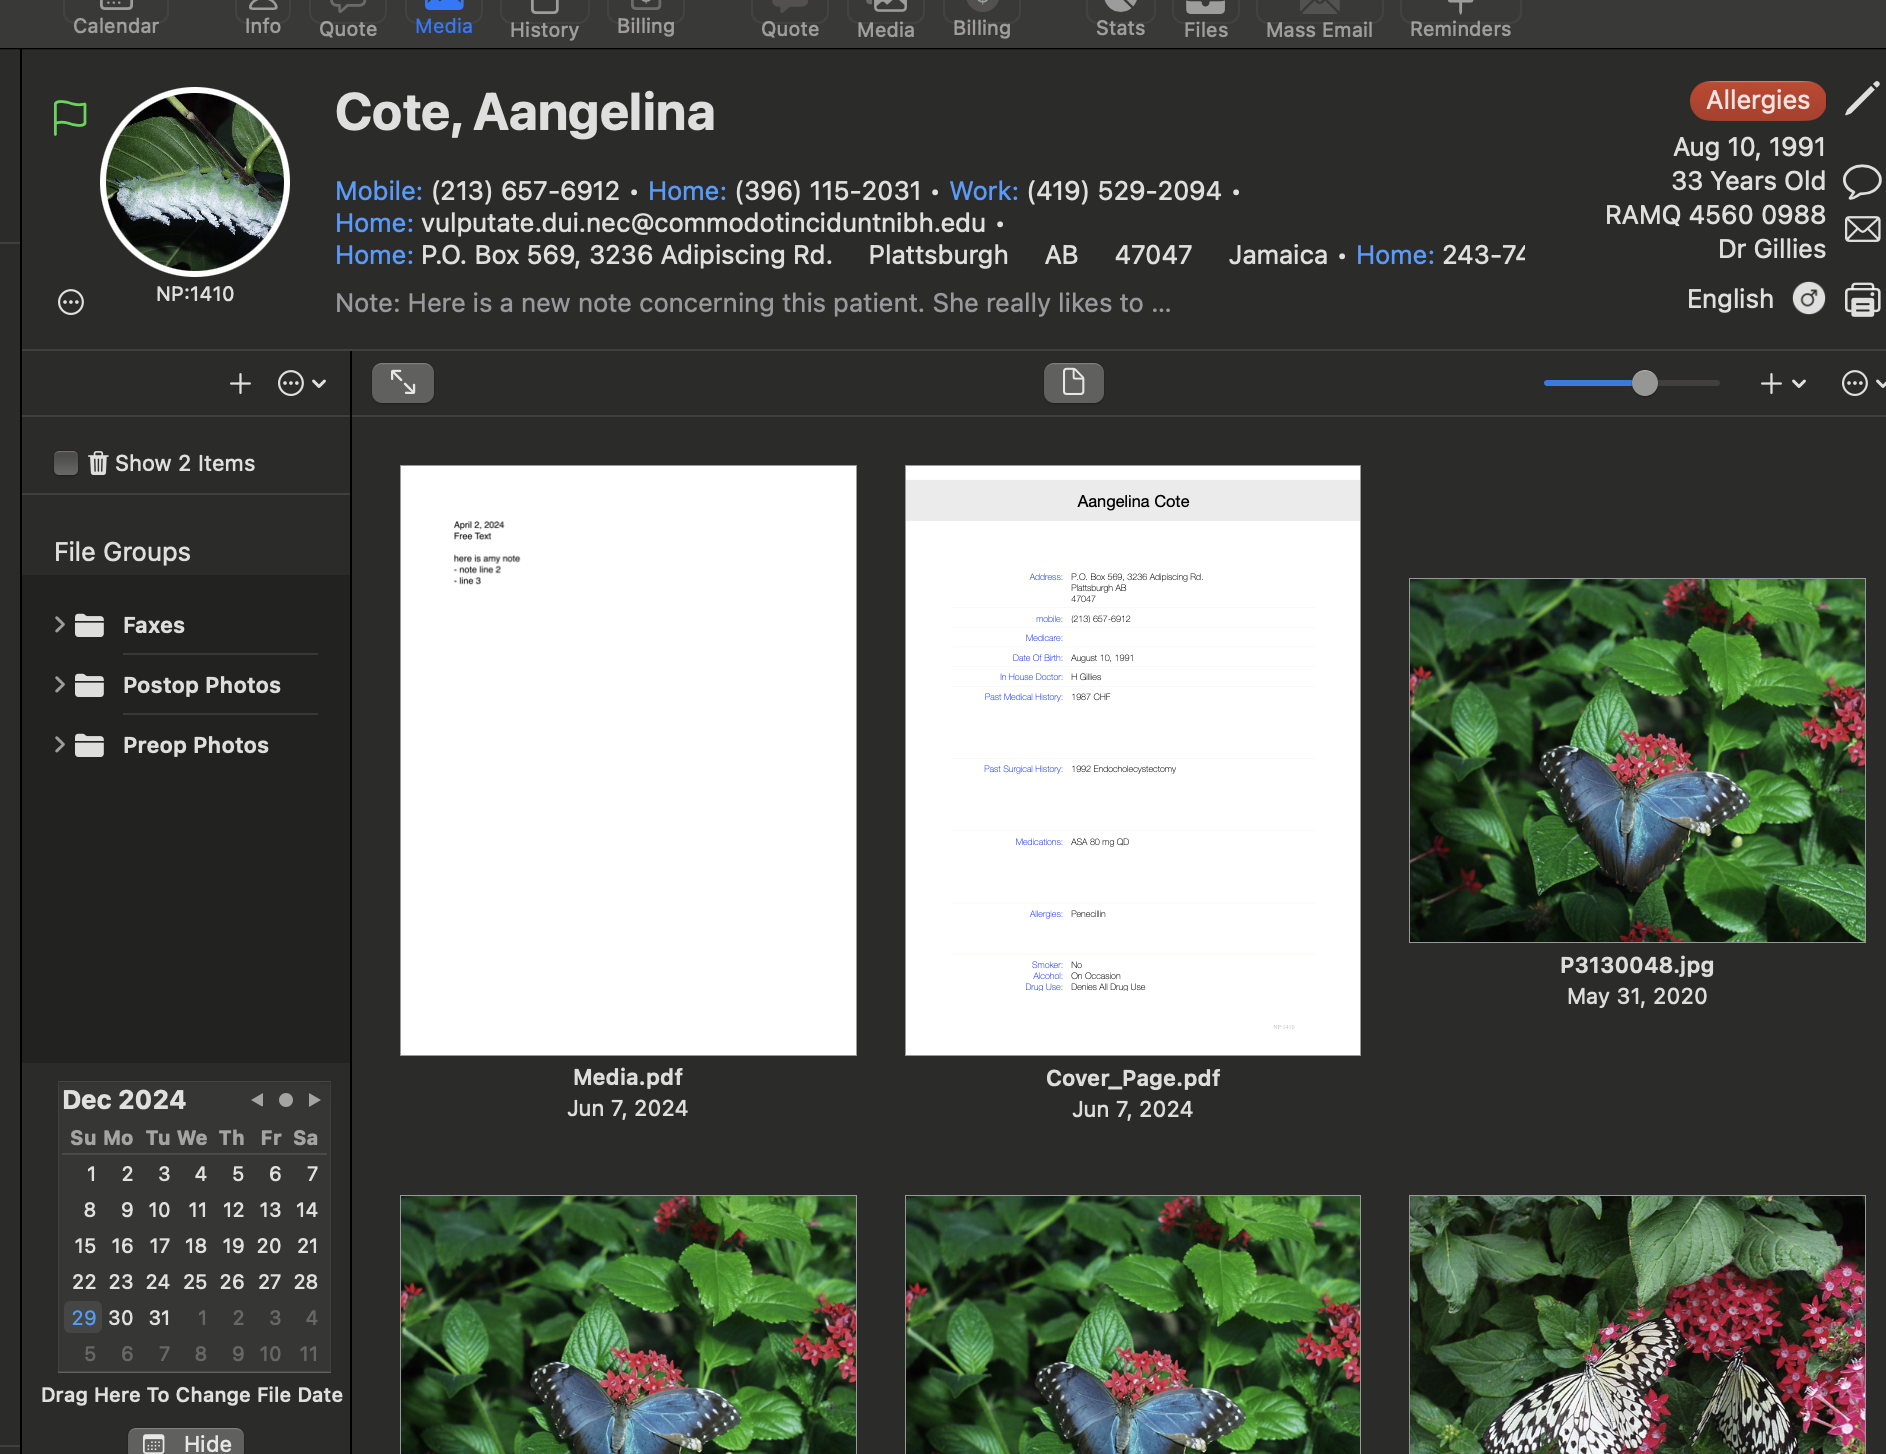
Patient Media View
The zoom slider and action button are found in the top right corner for adjusting the view:

Zoom Slider and Action Button
Importing Files
There are multiple ways to import files into a patient chart:
- Drag and Drop: Drag files from the Finder directly into the canvas.
- ‘+’ Button: Use this button to see additional import options.
- Print Services: After launching Nopali, a new PDF Print Service will appear in the system print panel.
Select PDF > Save PDF to Nopali Chart... in the print menu.
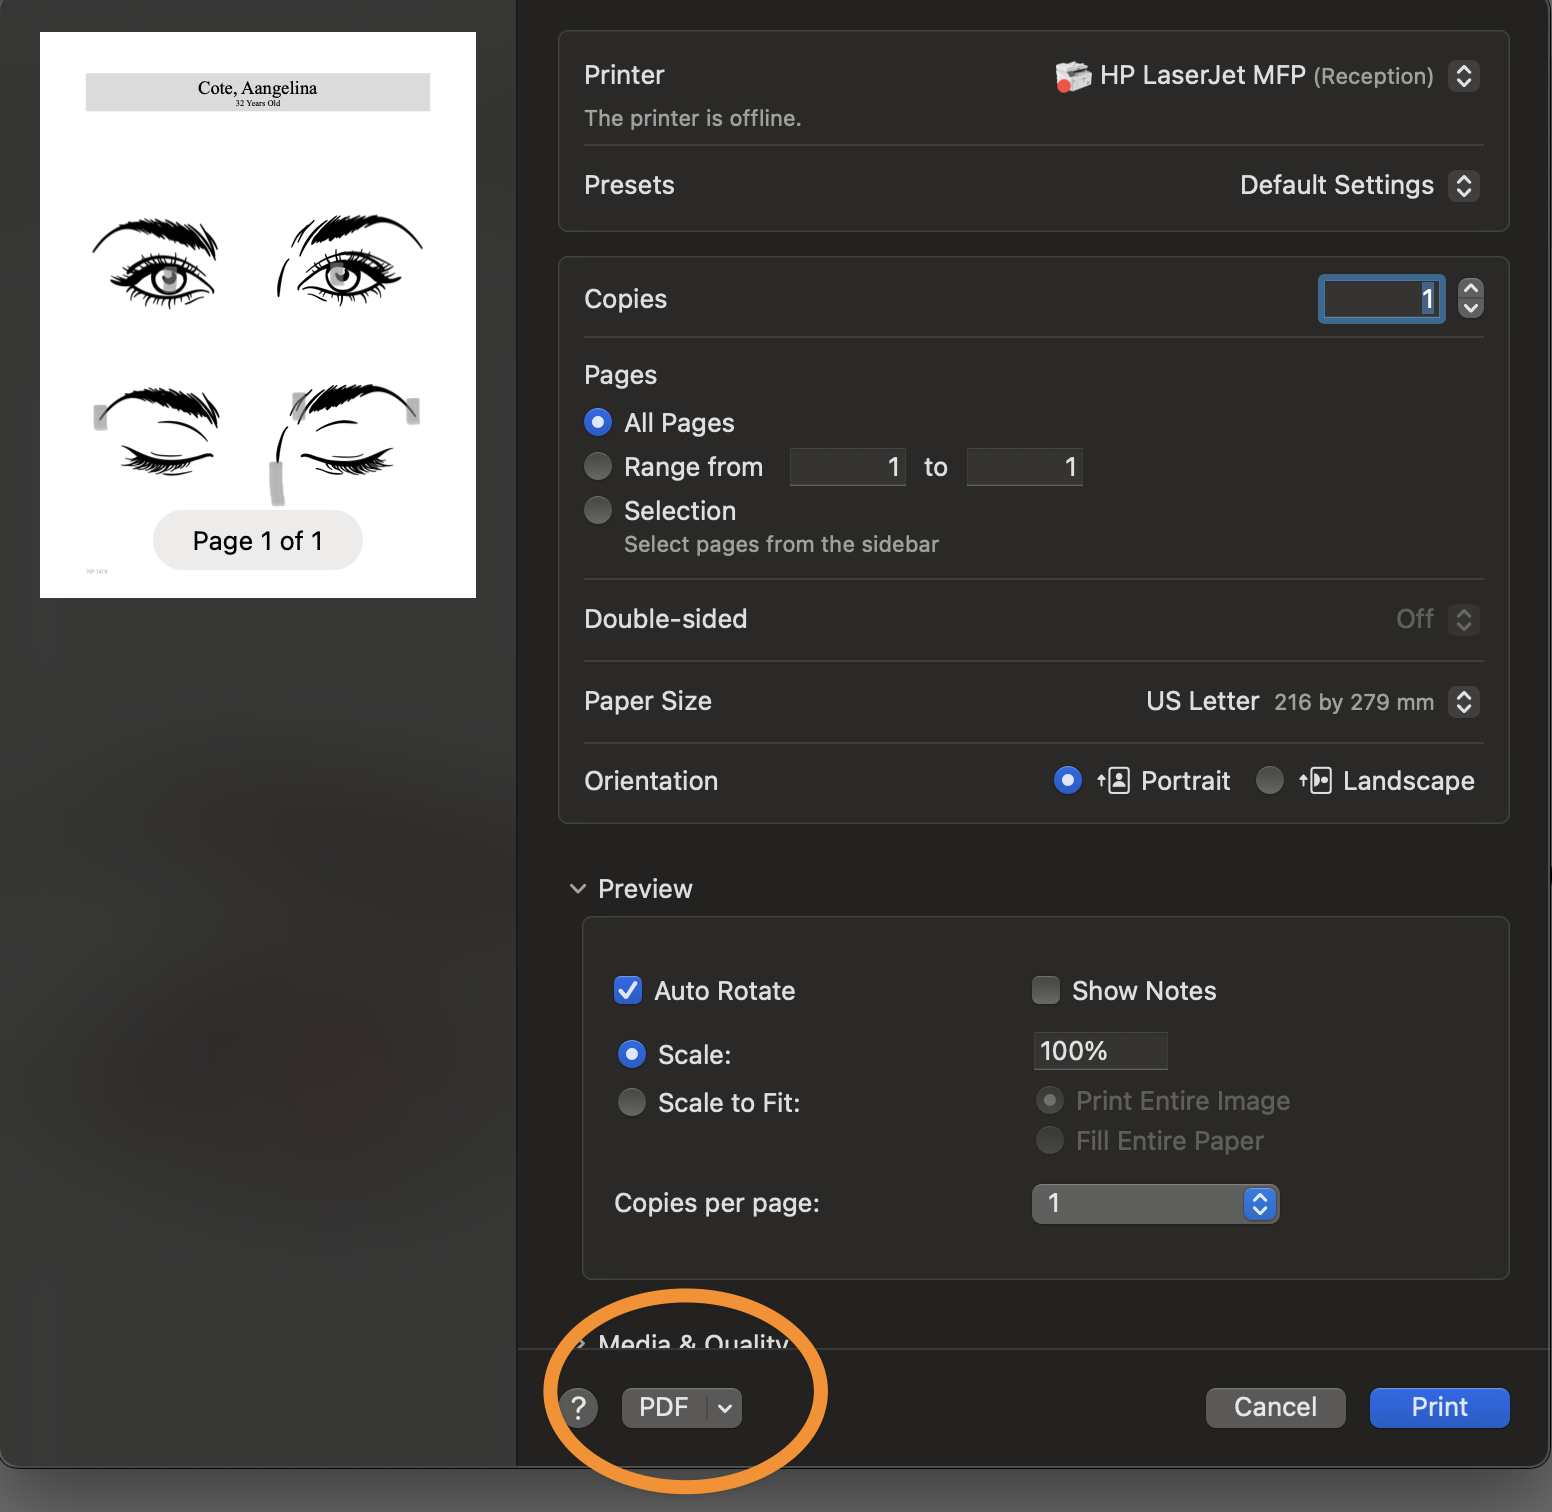
General Print Panel
Exporting Files
Files can be exported using the following methods:
- Drag and Drop: Drag files from the canvas to the Finder.
- Action Button: Select export options from the action button.
Deleting Files
File deletion requires appropriate user privileges. To delete a file:
- Select the file in the browser.
- Press the Delete key.
For more details on user permissions, see Nopali Preferences Setup.
Moving and Copying Files
To move or copy files to another patient chart:
- Select one or more thumbnails in the canvas.
- Use the appropriate menu option from the action button.
Viewing Files
To open a file:
- Double-click on the file's thumbnail.
Nopali will attempt to open the file in the appropriate viewer.
Renaming and Changing File Dates
- Use the action button to rename files and modify dates.
- Changed display dates are marked with a handwriting icon next to the date.
- Use the Revert Selected File Display Dates option in the action button to restore original dates.
Editing Image Files
- Image files can be edited using the action button.
- Edited images are marked with a pencil icon in the thumbnail.
- Use the Revert Selected Images option to restore unedited versions.
Creating Image Layouts
You can arrange images for printing by pressing the Page Layout button:
Page Layout Button
For a full-screen layout, press the Full Screen button:
Full Screen Layout Button
Grouping Images
The left sidebar allows you to group media files:
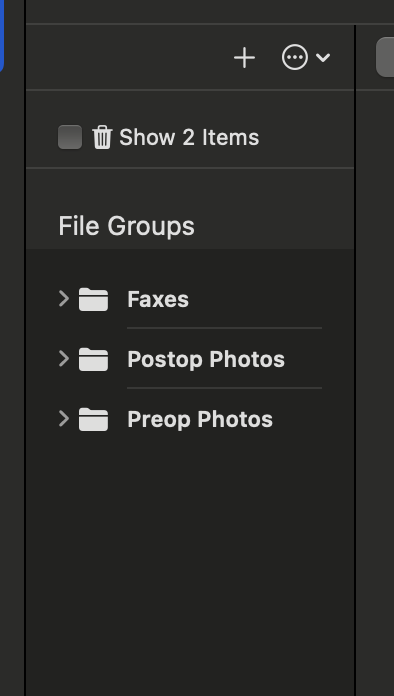
Grouping Sidebar
Groupings such as Faxes, Lab Work, Pathology Pictures can be created as needed. Files can belong to multiple groups.
Creating a Group
- Select either the System or Local header.
- Press the ‘+’ button at the bottom of the sidebar.
- Double-click the new group to rename it.
Deleting a Group
- Select the group.
- Press the Delete key.
Note: Deleting a group does not delete the files inside it.
Adding Files to a Group
- Drag and drop thumbnails into the group.
- Files can also be dragged directly from the Finder.
Viewing Group Contents
- Select a group in the sidebar to display its contents in the canvas.
Go to Nopali Help