The Nopali Preferences Panel is accessed by selecting Nopali > Preferences from the top-left menu bar. Inside the panel, you can adjust settings using the toolbar items along the top.
General application settings such as connection preferences, Touch ID, and display options can be adjusted here:

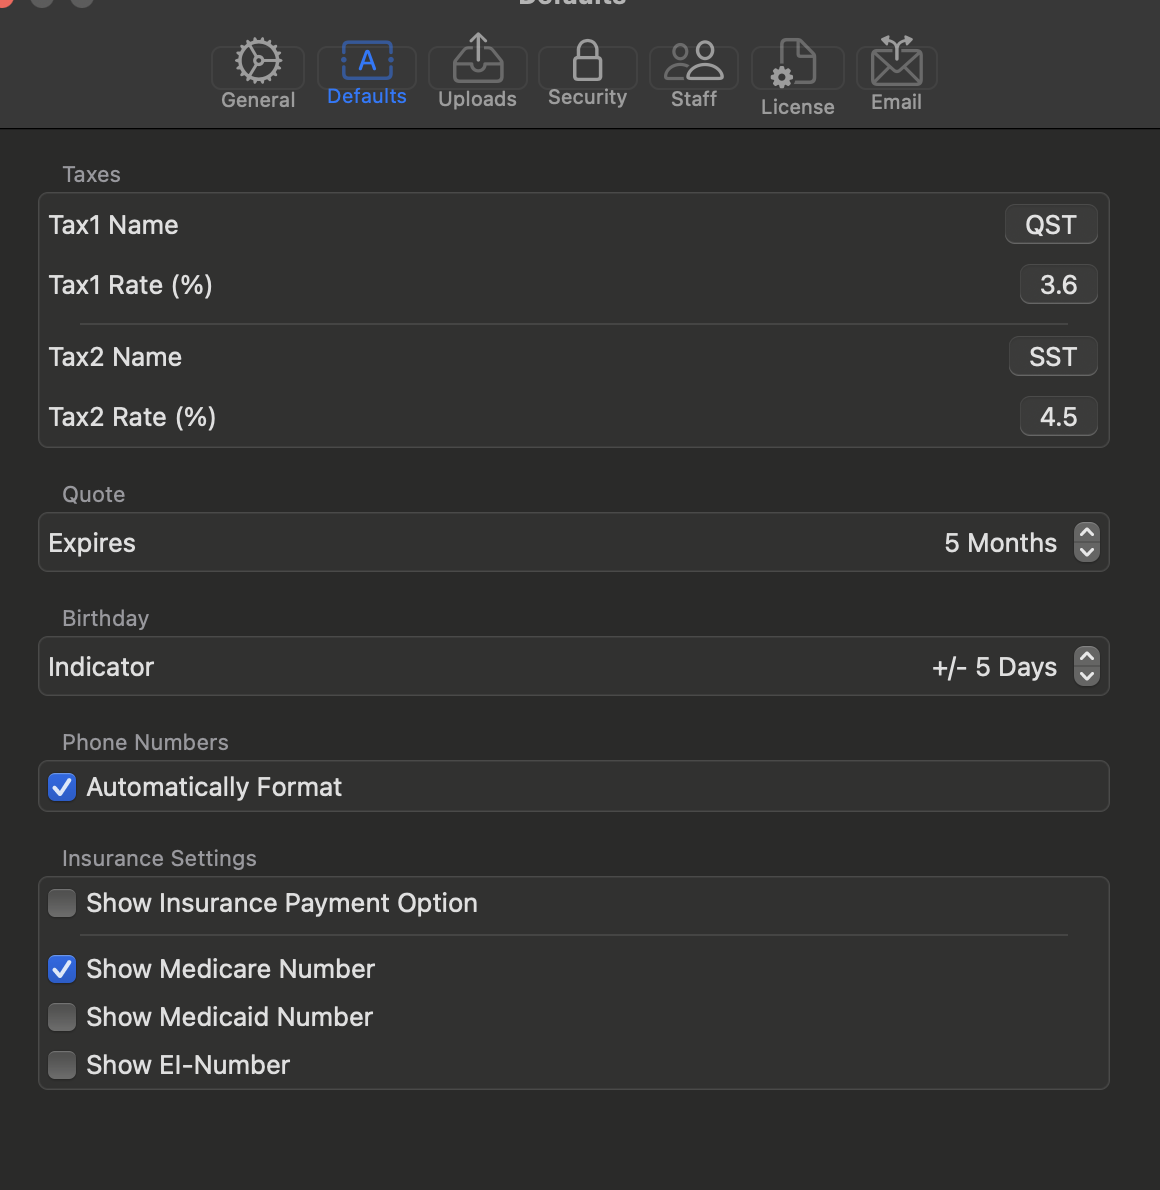
The "Defaults" section allows you to configure tax names and rates. Tax names should be short (e.g., "GST" or "FST") for better readability when printing. You can also enable or disable insurance-related fields.
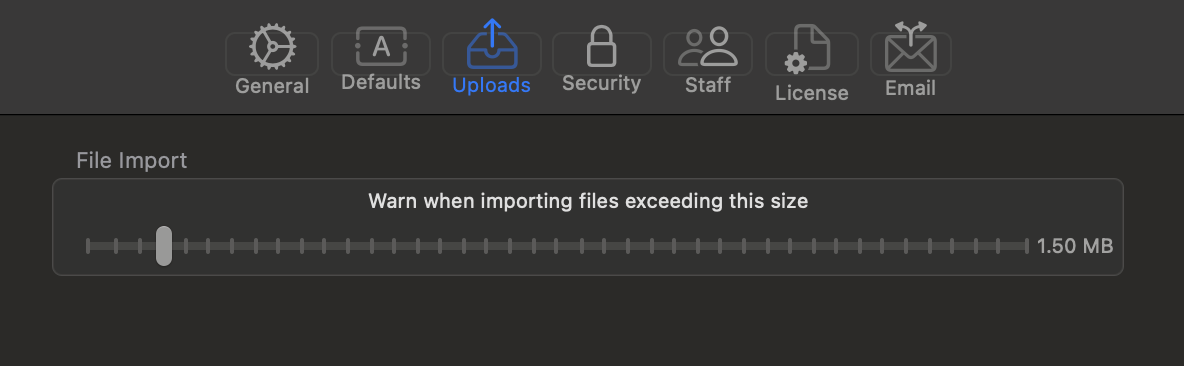
This section allows you to set a maximum file size for uploads. If a file exceeds this limit, the user will receive a confirmation prompt before proceeding.
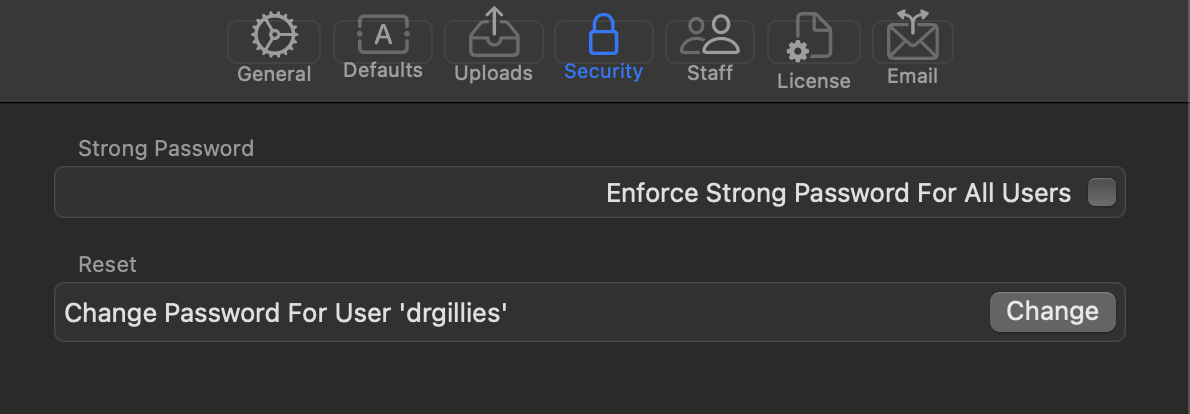
Passwords can be reset from this tab. If a password is forgotten, an administrator can reset it using the Nopali Administrator application.
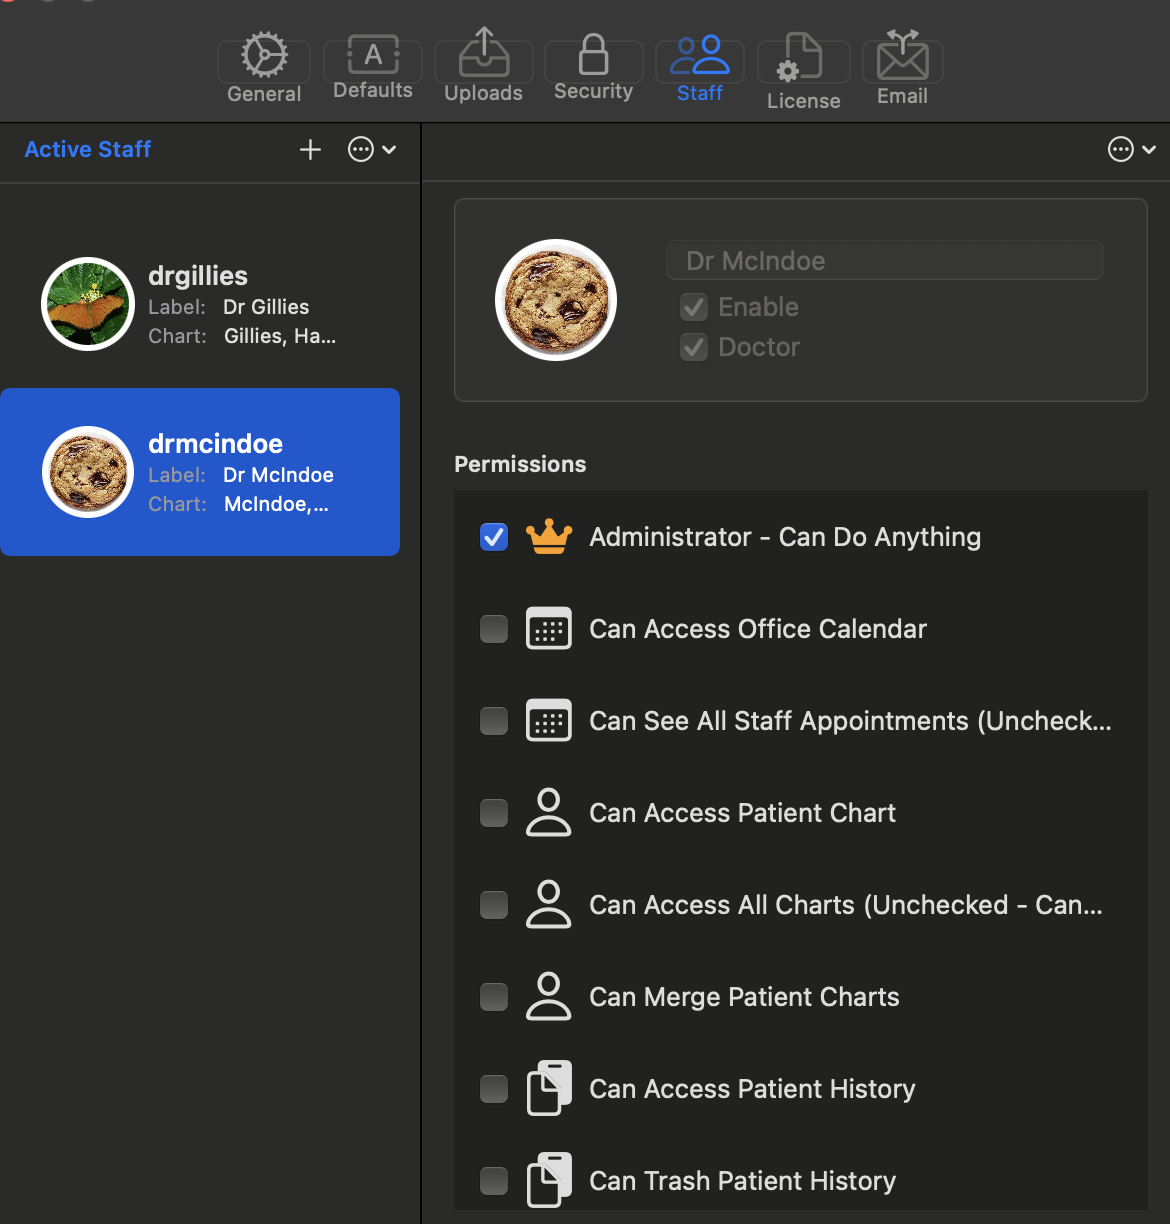
This section is for managing database users. Only administrators can create new users and modify account privileges. Non-administrator users have restricted access.
The Nopali software license is managed here:

License management is automated online. However, users can extend or renew licenses directly from this panel.
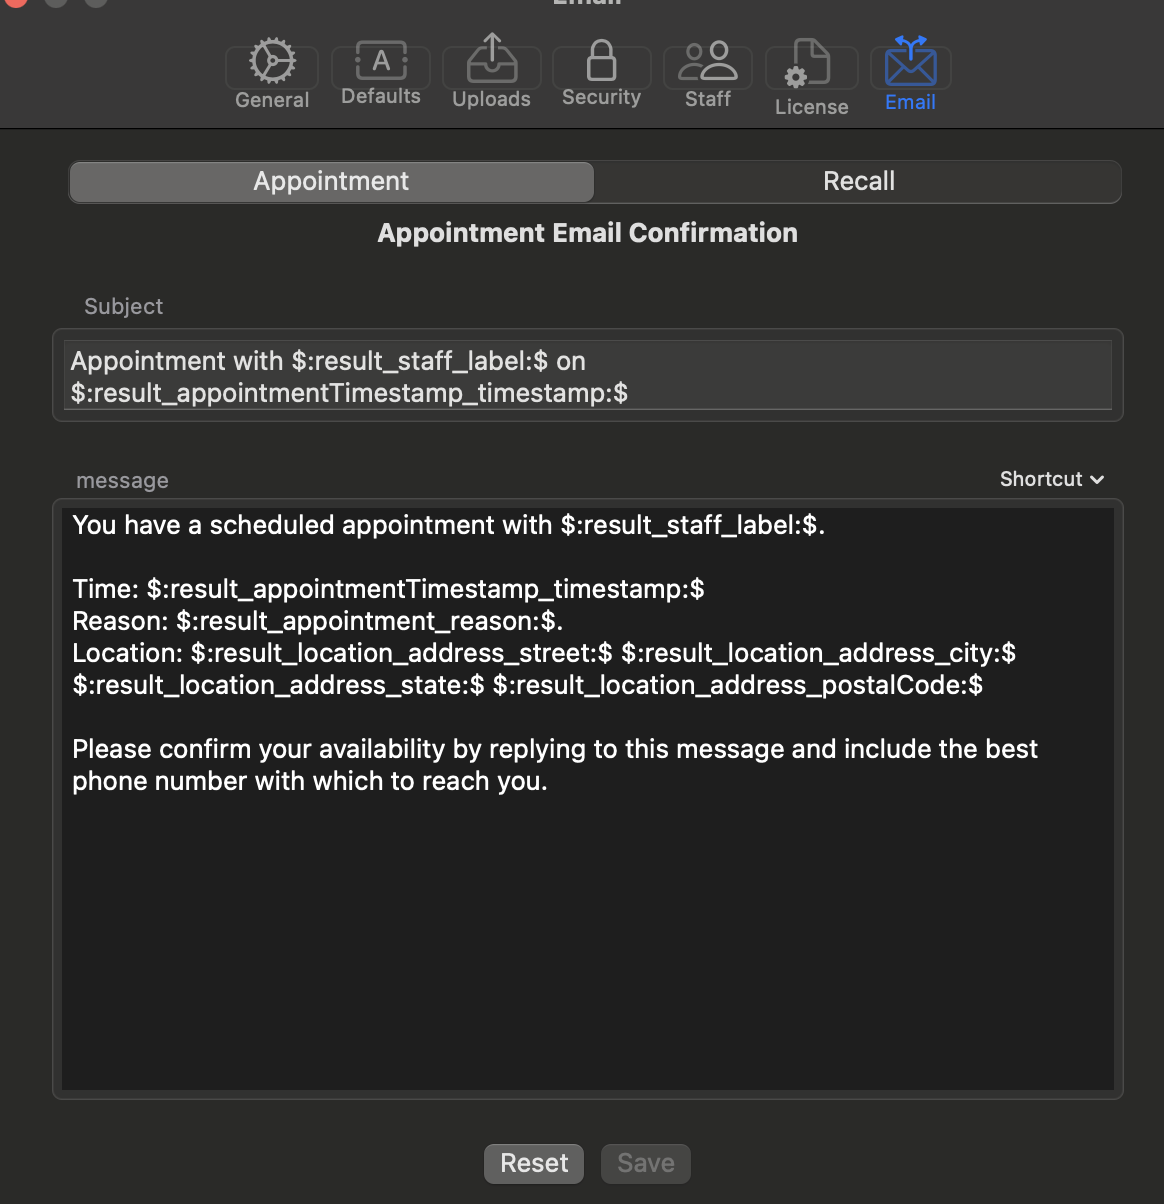
Nopali includes built-in email and SMS features for sending appointment confirmations and recall reminders. The default email text can be customized in this section.
If modifying the email text, ensure that placeholder tokens (formatted as $:token:$) remain unchanged. These tokens are automatically replaced with relevant data when sending messages. The "Reset" button restores the default text if needed.