The Nopali Office Scheduler is designed specifically for medical offices. Before using the scheduler, follow the initial setup guide.
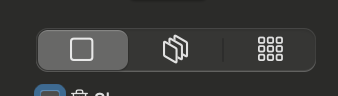
To access the scheduler, click the Office Scheduler toolbar item:
First, ensure that the scheduler is set up correctly by following the setup guide. You can modify default settings at any time.
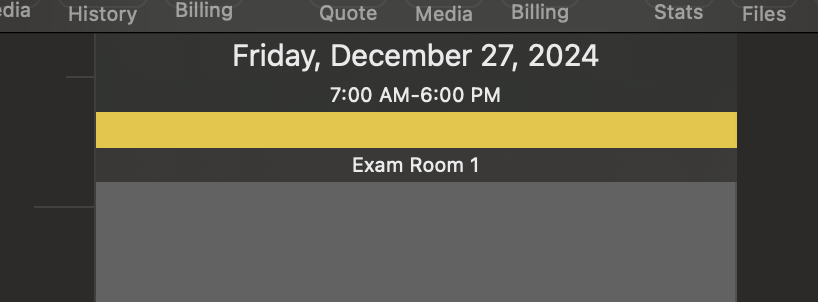
Access the Calendar Settings panel by selecting Calendar > Calendar Settings from the menu bar or by clicking the yellow date header:
The scheduler consists of navigation tools on the left and appointment columns on the right:
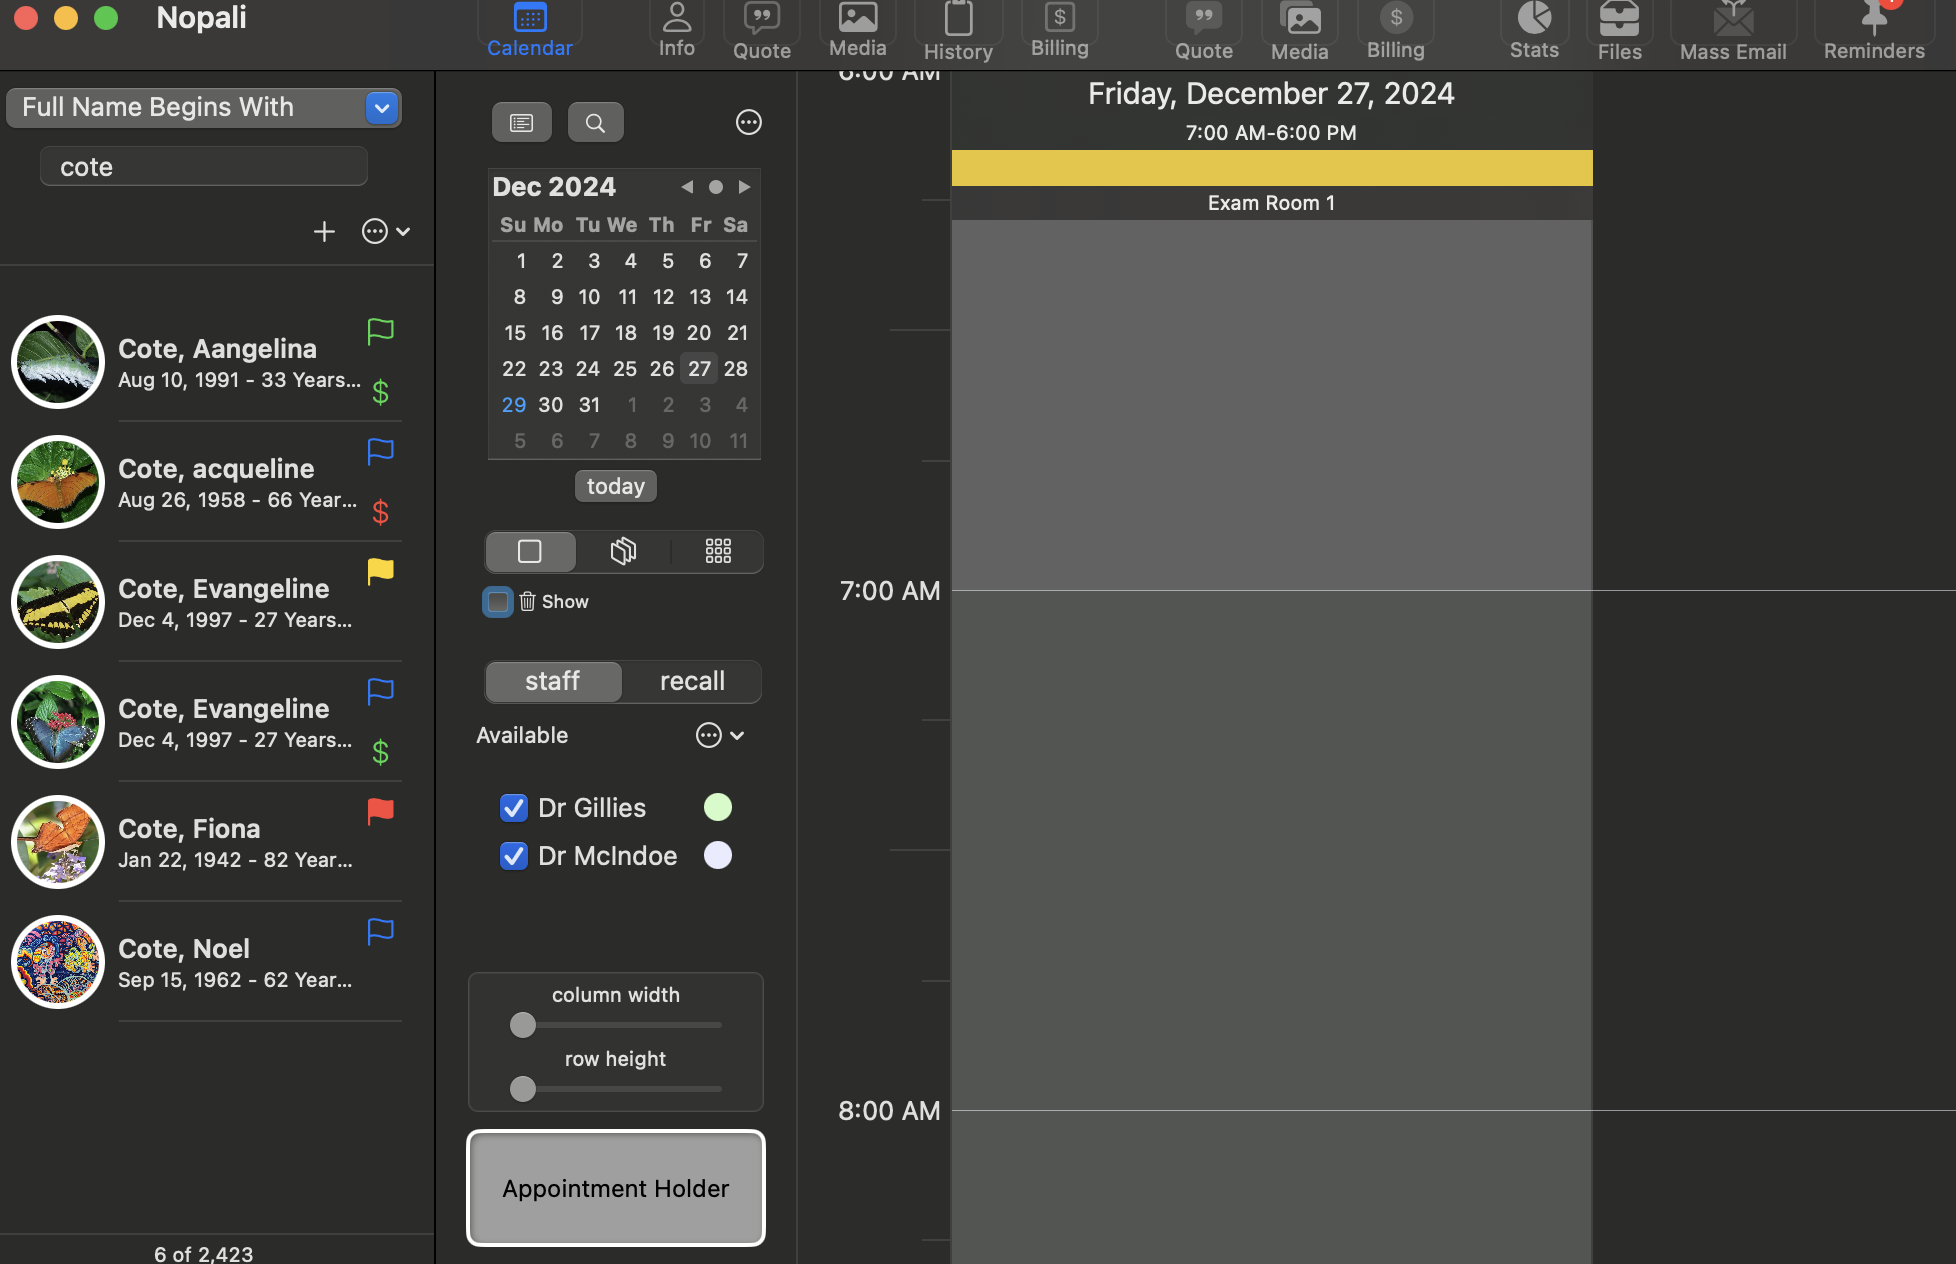
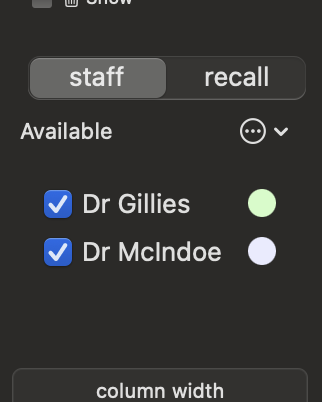
Appointments are displayed in columns corresponding to staff members. Staff with checkmarks are available for appointments. Each staff member has an associated color for easy identification.
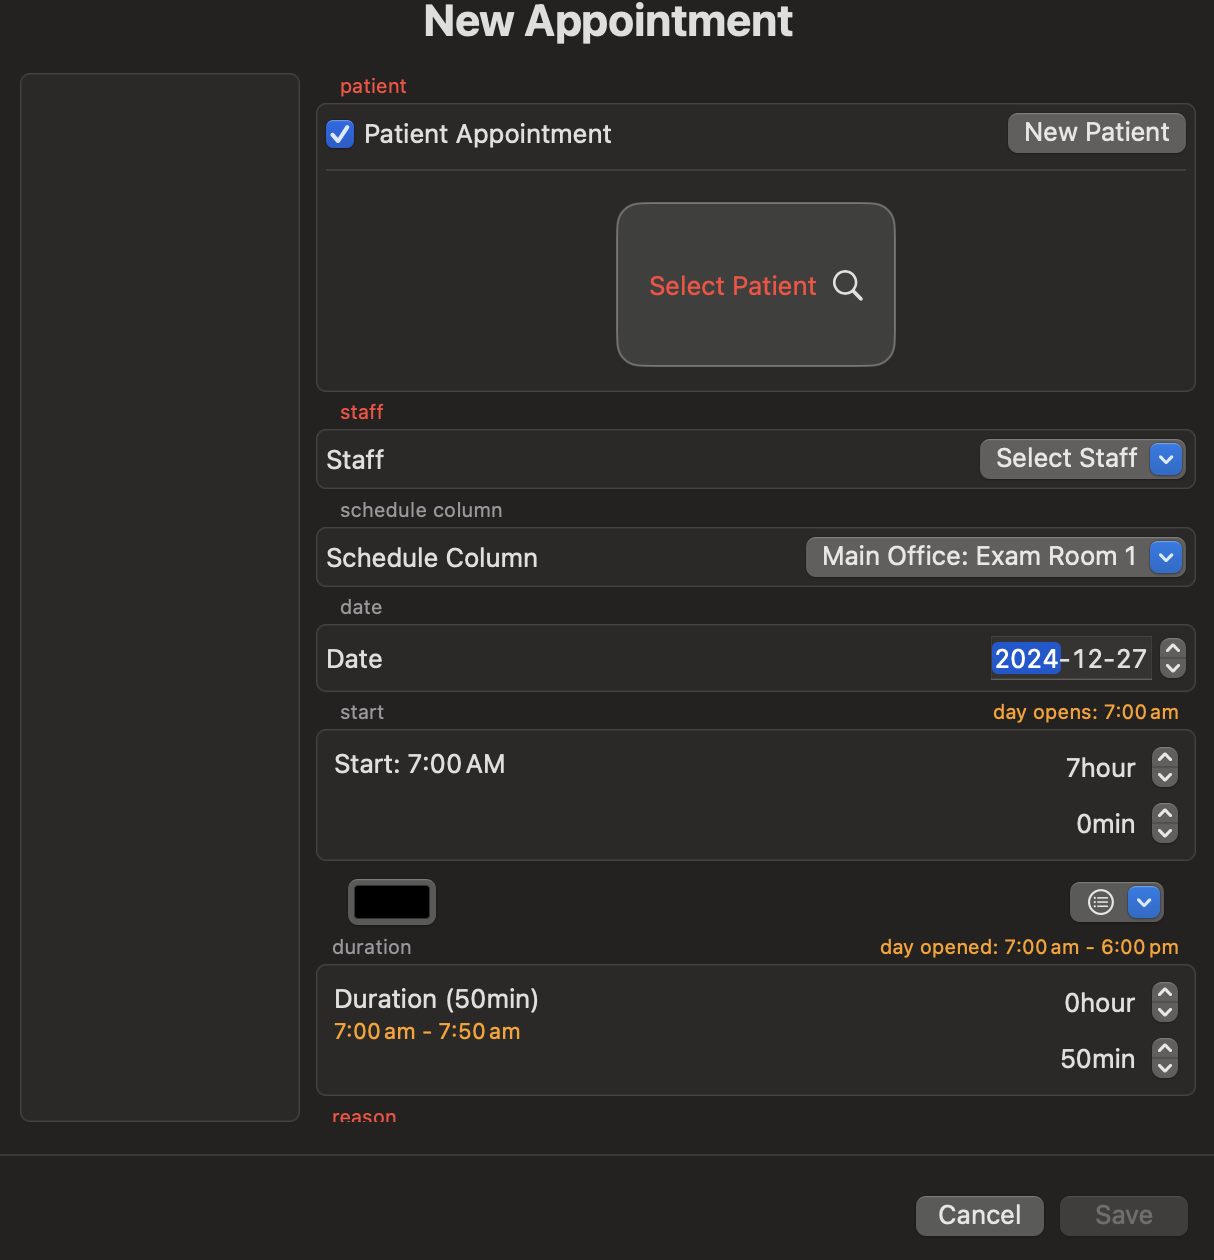
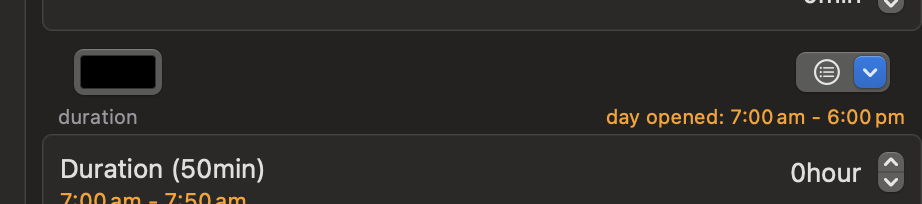
To create an appointment, double-click or drag across a column in the scheduler. This will open the New Appointment panel:

Double-click an existing appointment to edit its details:
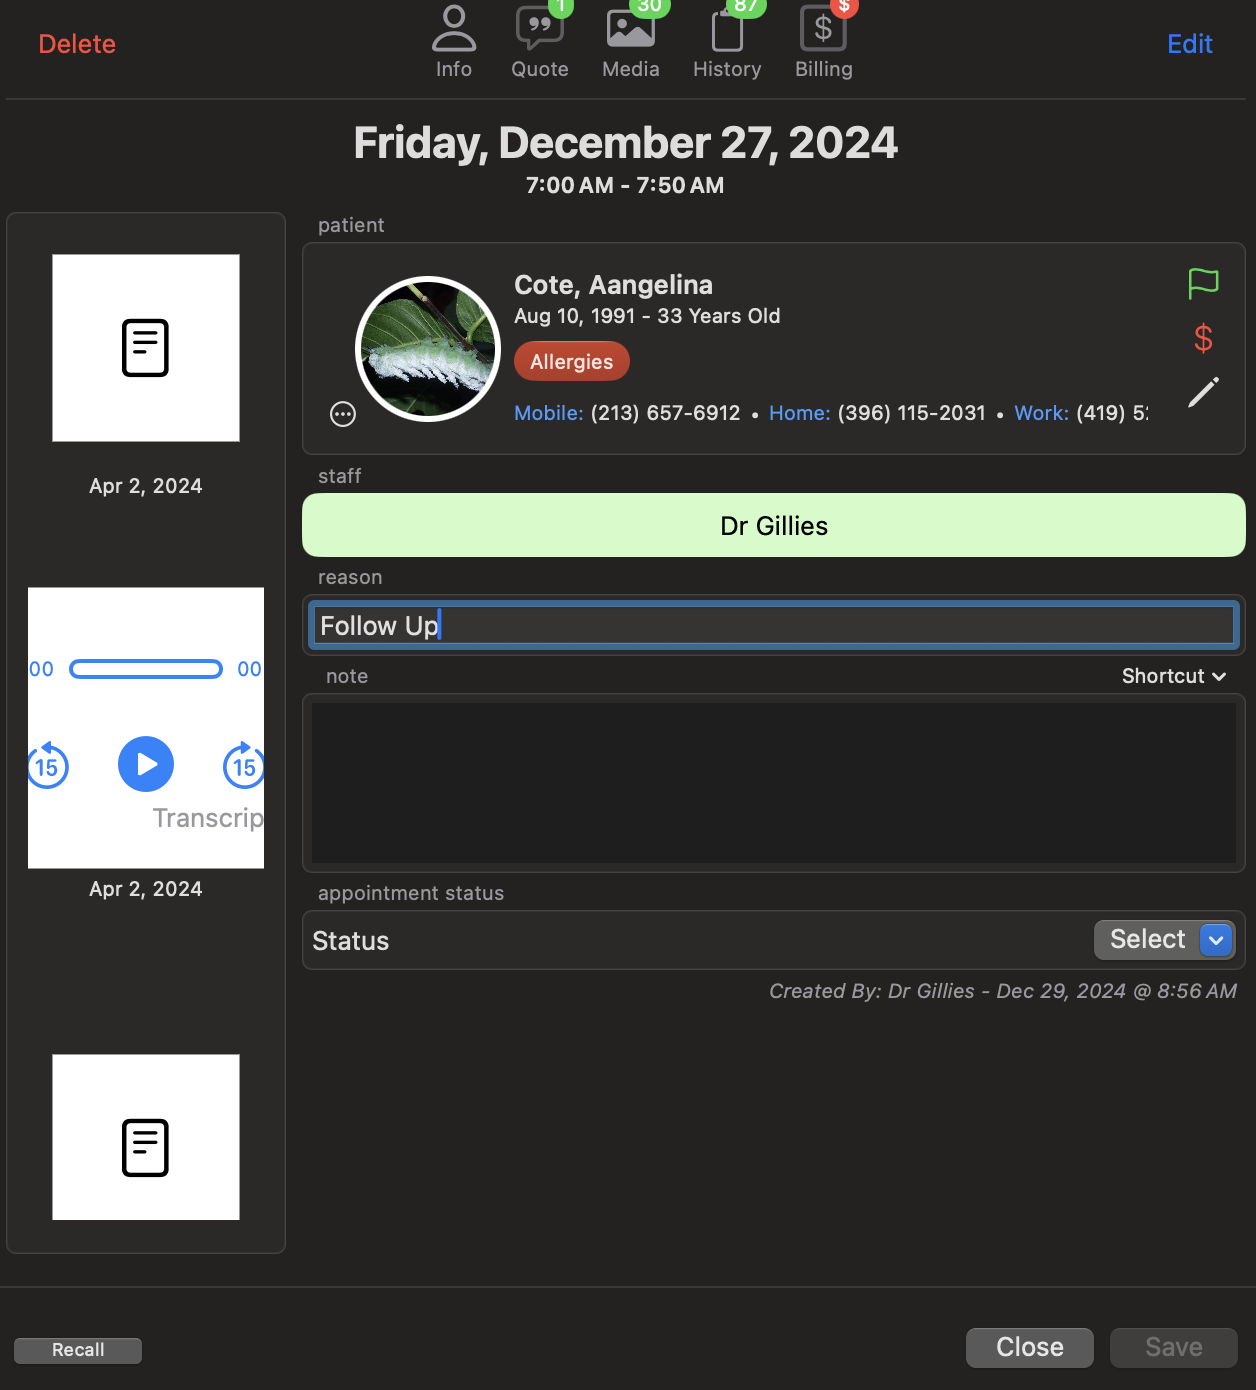
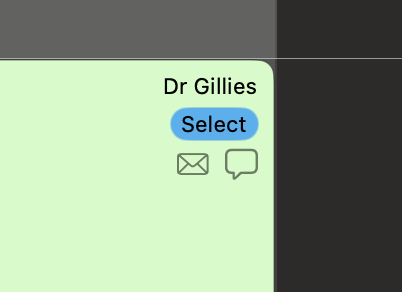
Right-click an appointment to change its status (e.g., confirmed, cancelled, no-show). You can also enable email and SMS reminders here:
To reschedule within the same week, drag and drop the appointment in the week view. For appointments in other weeks, use the Appointment Holder:

To delete an appointment, open the Appointment Editor and click Delete.
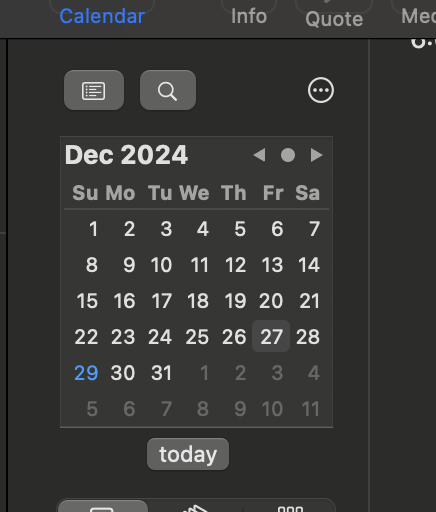
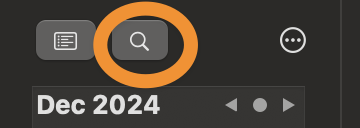
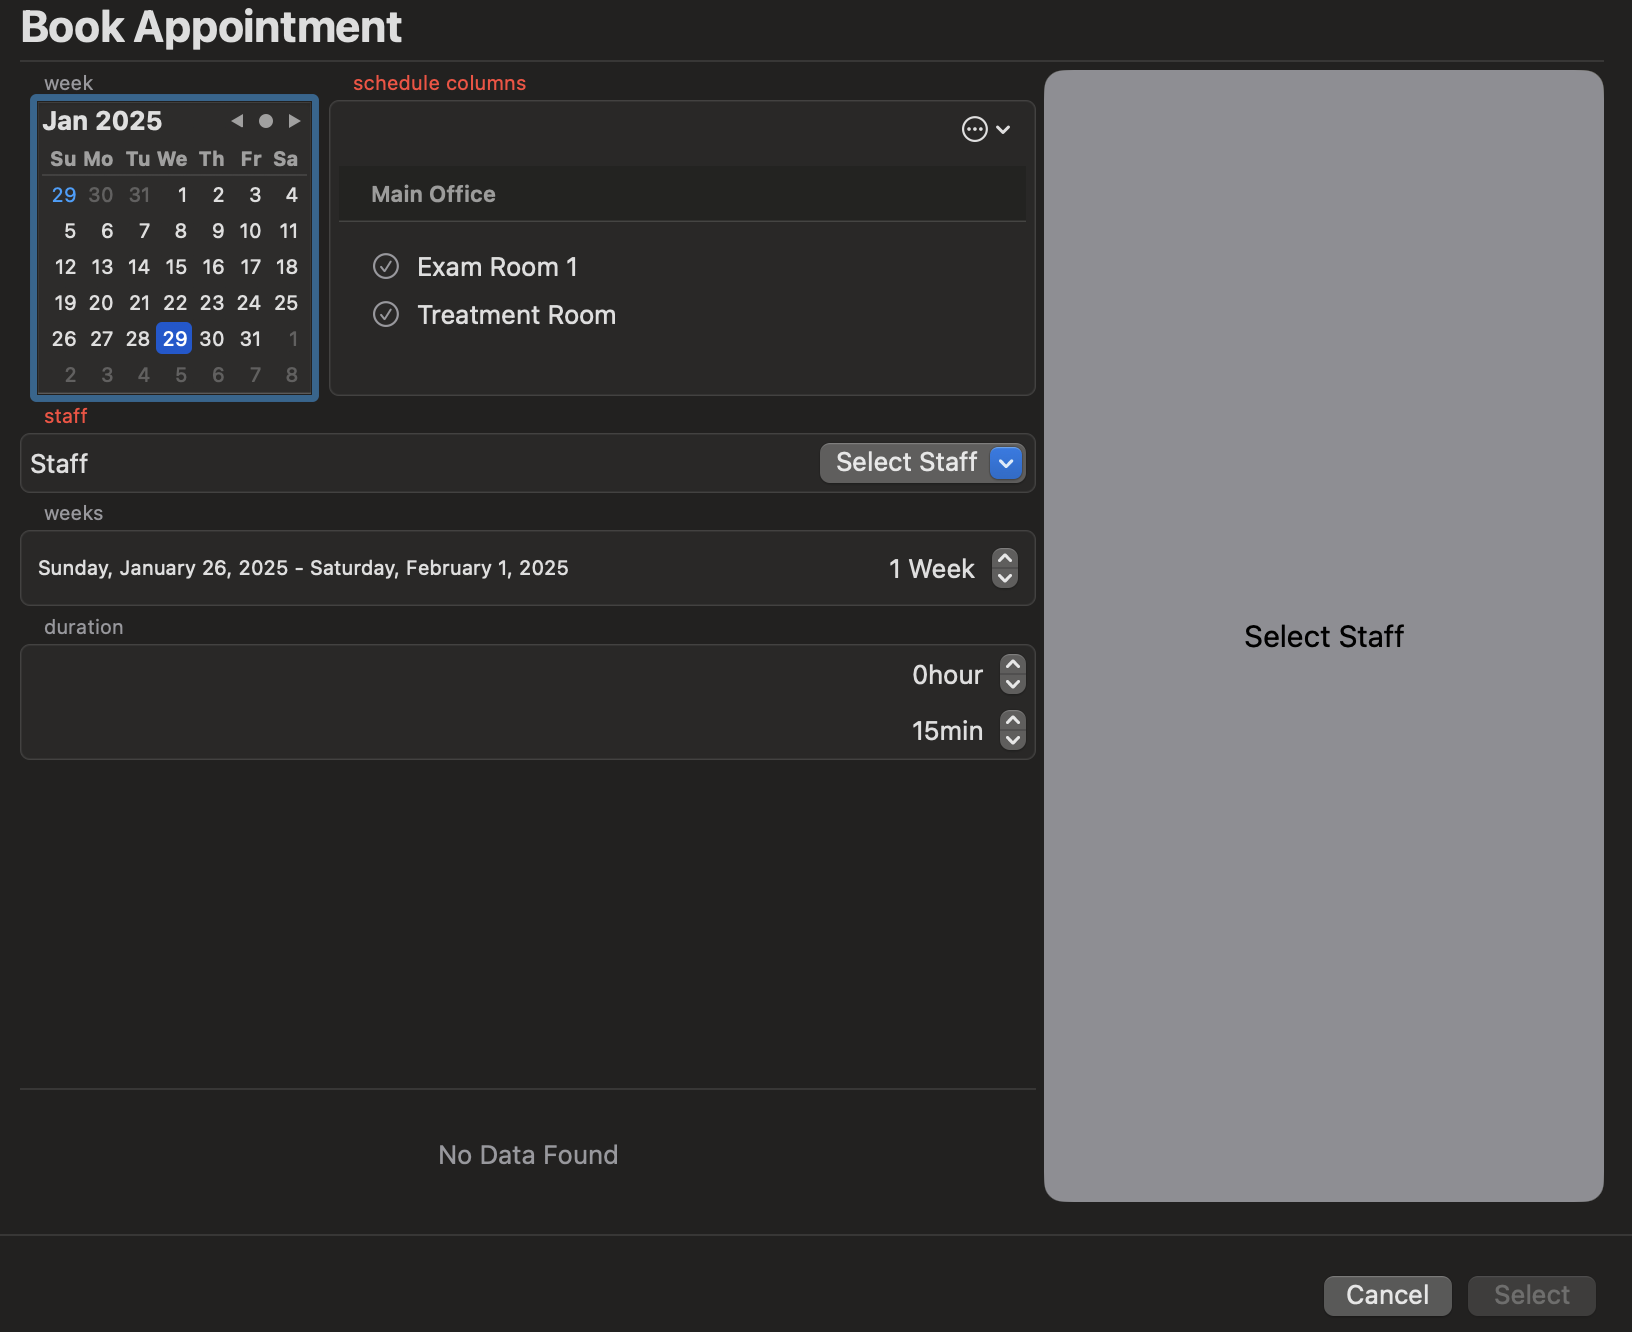
Click the Search button below the small calendar to open the Availability Search panel:
Set the desired columns, duration, and staff member, then click Search to find available slots:
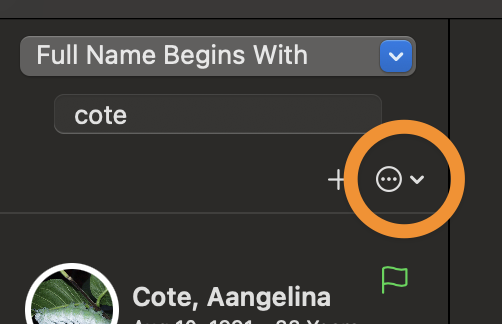
To find a patient’s appointment, select the patient in the search sidebar and click the Action button:
To print a daily appointment sheet, click the List button below the calendar:
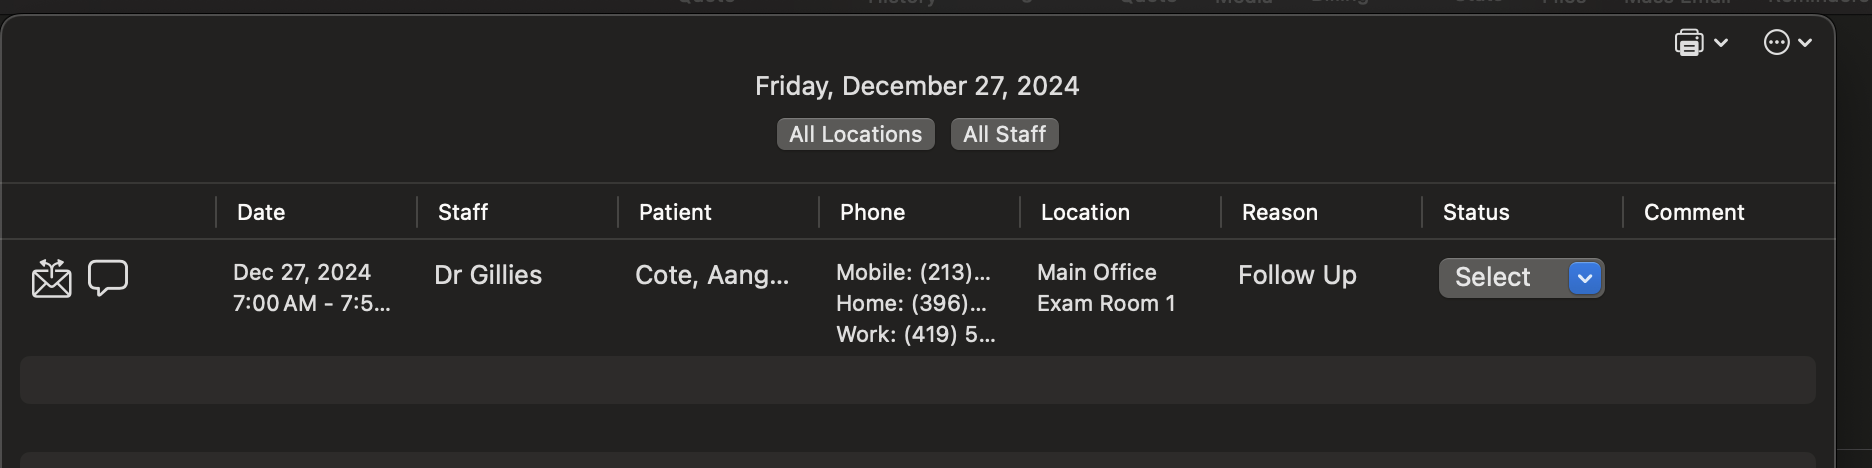
The Day Sheet panel allows you to change appointment statuses and print the schedule:
The recall list helps schedule follow-ups. Click the Recall button to access the list:
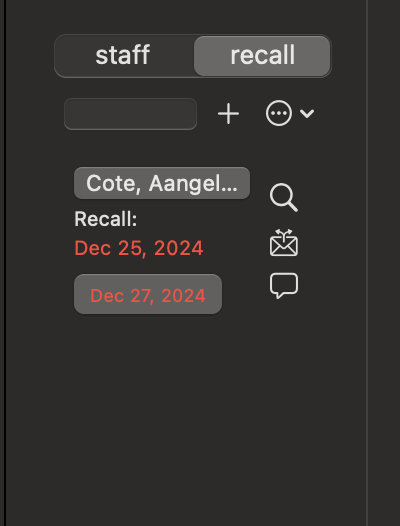
Entries turn green if an appointment is booked and red if overdue.